

How To Create Store On Shopify
Your Online Store in 19 Minutes: How To Set Up Shopify (The Complete Shopify Guide Part 1)
Shopify is hands-down the easiest way to set up an online store. Whether you want to make a little extra money on the side or make it your full time job, Shopify is the fastest way to get online and start selling. In fact, I just timed it from start to finish and it took just 19 minutes to create a store, add products and hit the 'go live' button. Granted… my 19-minute store wasn't perfect, and I would spend much longer tweaking it. But, it shows just how straightforward the process is. This post is the first in a four-part series on Shopify that will take you from beginner to Shopify-master! Today, we start with the basic set up as we walk through the 20-minute setup process. But first… Most shop owners don't want the hassle of building a website from scratch and maintaining the tricky mechanics. They just want to sell! That's where Shopify comes in: All you need is 20 minutes to spare, a product to sell, and $29 per month. BUT there's a 14 day free trial, and you needn't enter any card details until you go live. You're free to play around until then. If you're looking for complete control over the back end (web hosting, performance, coding etc.) Shopify may feel too restrictive for you. It's a little more expensive than other options too, but you do get unmatched power for the price. The alternative? Use WordPress with WooCommerce. It involves getting a WordPress Hosting and self-hosting your own website. But, if you're looking for the simple, easy, hassle-free option, choose Shopify. In this quick tutorial, we'll go through the basic stages of setting up a Shopify store. We'll look at signup, design, adding products, adding a domain name and setting up the payment mechanism. Step one is easy, head to Shopify.com and enter your email address. Hopefully, you've got an idea in mind. For my demo store, I'm using 'Awesome Snowboards'. After signing up, you're greeted with a simple dashboard. Let's start with the fun stuff: designing your store. Shopify has more than 100 design templates, or 'themes' to customize your online store. Think of them as a starting point – you can tweak or amend the layouts, colours and images as you go through. For my 'Awesome Snowboards' store, I'm choosing the 'Boundless' theme. It's clean, simple, and has plenty of room for large images. Shopify gives you plenty of control over the look and feel of your site. Here, I've uploaded a new 'hero image' and written a simple logo over the top. At this point, you can spend hours altering the layout and design, but you can come back to this at any time. For now, let's add some products. Navigate back to your dashboard and click 'add a product'. Pro tip: don't skip the product description. A good description is essential if you want to convince customers to buy your goods. Choose your words carefully and make the product stand out! A unique product description is also essential for better rankings in search engines. I'll explain more about search engine optimization for Shopify in part three of this series. Images can make or break your sales rate. Great photos are key to convincing customers to buy from you, so choose them carefully. Check out this guide on how images can boost your conversion rate, and then upload your best pictures. Enter the price of your product and be sure to tick the 'charge taxes' box. Shopify will automatically add the correct sales tax based on your location. Enter an 'SKU' (stock-keeping unit) which is simply a number to identify each product. IMPORTANTLY, change the 'inventory policy' to 'Shopify tracks this product's inventory' and enter the number of products you have available. This way, Shopify tracks how many products have been sold, and how many are left. Shopify will attempt to calculate a rough shipping price based on the customer's location and the weight of your product. Unless you have a big logistics and fulfilment team delivering your product, select 'manual' fulfilment. If your product comes with different options, like a t-shirt in different sizes, Shopify will handle this for you. Just tell it what sizes, colors or fabrics are available for each product. Hit 'publish' and your product is automatically added to your store-front. Repeat the process for each product you're selling. A custom domain name makes your online store look slick and professional. Shopify makes it easy, so let's click 'set up a custom domain'. If you don't yet own a domain name, Shopify allows you to see what's available and buy it right there and then. If you already have a domain name through another seller (like GoDaddy), you can easily add that instead. In the past, one of the trickiest things about setting up an online store was taking payments. Luckily, Shopify makes this easy too. Navigate to the Settings > Payments and start by choosing your preferred method. For many, the simplest option is Paypal, but you can also choose 'Shopify Payments' which allows you to accept credit cards directly (without using PayPal as a middle man). You'll just need to connect your bank account with Shopify. If you have another payment method in mind, you can choose from a dozen or more 'alternative payments' including Amazon, BitPay and CoinBase. Hit the 'publish' button and your online store is ready to go live to the world. Of course, this is a simple and basic introduction to Shopify. Getting your store online is just the start. Now comes the hard part: getting customers through the (virtual) door and turning it into a reliable business. As we go through this Shopify series, we'll look at these next steps and turn this simple start into a roaring success! Please do share how you get on in the comments below. If you've already set up a Shopify store, let me know about your experience with the platform.Why Shopify?
Shopify Benefits
Sounds great, what do I need to get started?

Are there any downsides to Shopify?
Let's go!
Step 1: Sign up

Step 2: Give your store a name

Step 3: Add an address, so Shopify can calculate sales tax and payments

Step 4: Start customizing your design!

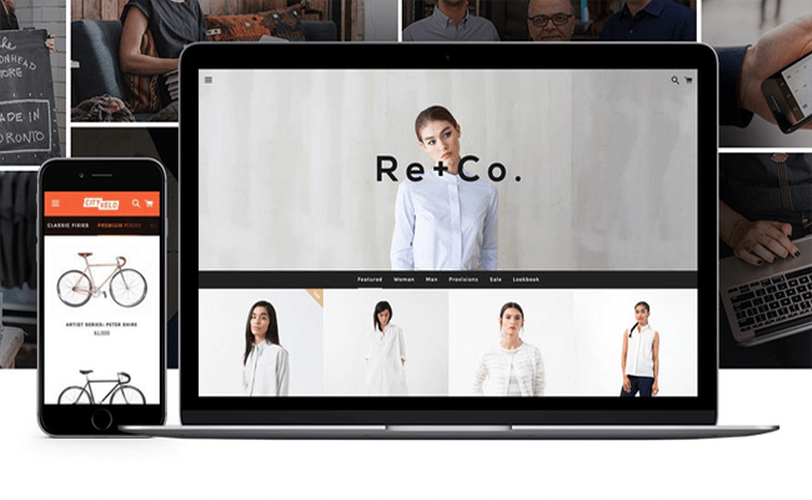
Step 5: Choose the perfect theme for your store
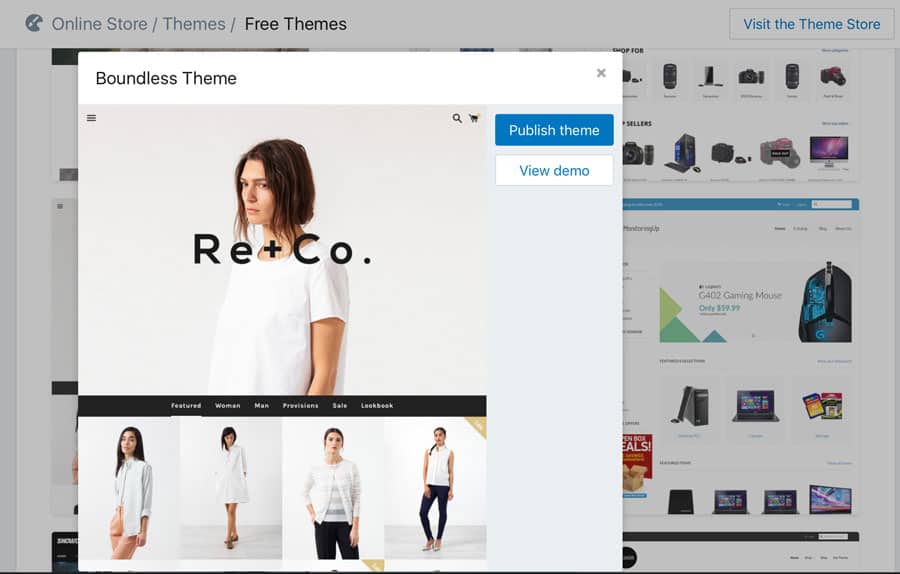
Step 6: Tweak the theme to your liking

Step 7: Add your first product

Step 8: Enter the name and description of your first product

Step 9: Upload stunning images of your product

Step 10: Set your price and inventory

Step 11. Enter product weight for shipping purposes

Step 12: Add variants for size, color, etc.

Step 13: Create a custom domain name – my-store.com!

Step 14: Buy your chosen domain through Shopify

Step 15: Add your payment mechanism, so you can make money!

You're Done!

About The Author
Ben is a copywriter and editor from London. His work regularly appears in The Huffington Post, and he has worked on several successful copywriting campaigns for Sony UK. Feel free to connect with Ben via Twitter.
![]()
How To Create Store On Shopify
Source: https://www.bitcatcha.com/blog/set-up-shopify-online-store/
Posted by: williamsalannow.blogspot.com
0 Response to "How To Create Store On Shopify"
Post a Comment